September 29, 2026
How to Assemble a Baby Rocking Chair Without Losing Your Mind
.png)

At a Glance
Easily assemble a nursery glider in under 45 minutes by building a stable frame first and conducting safety stability checks.
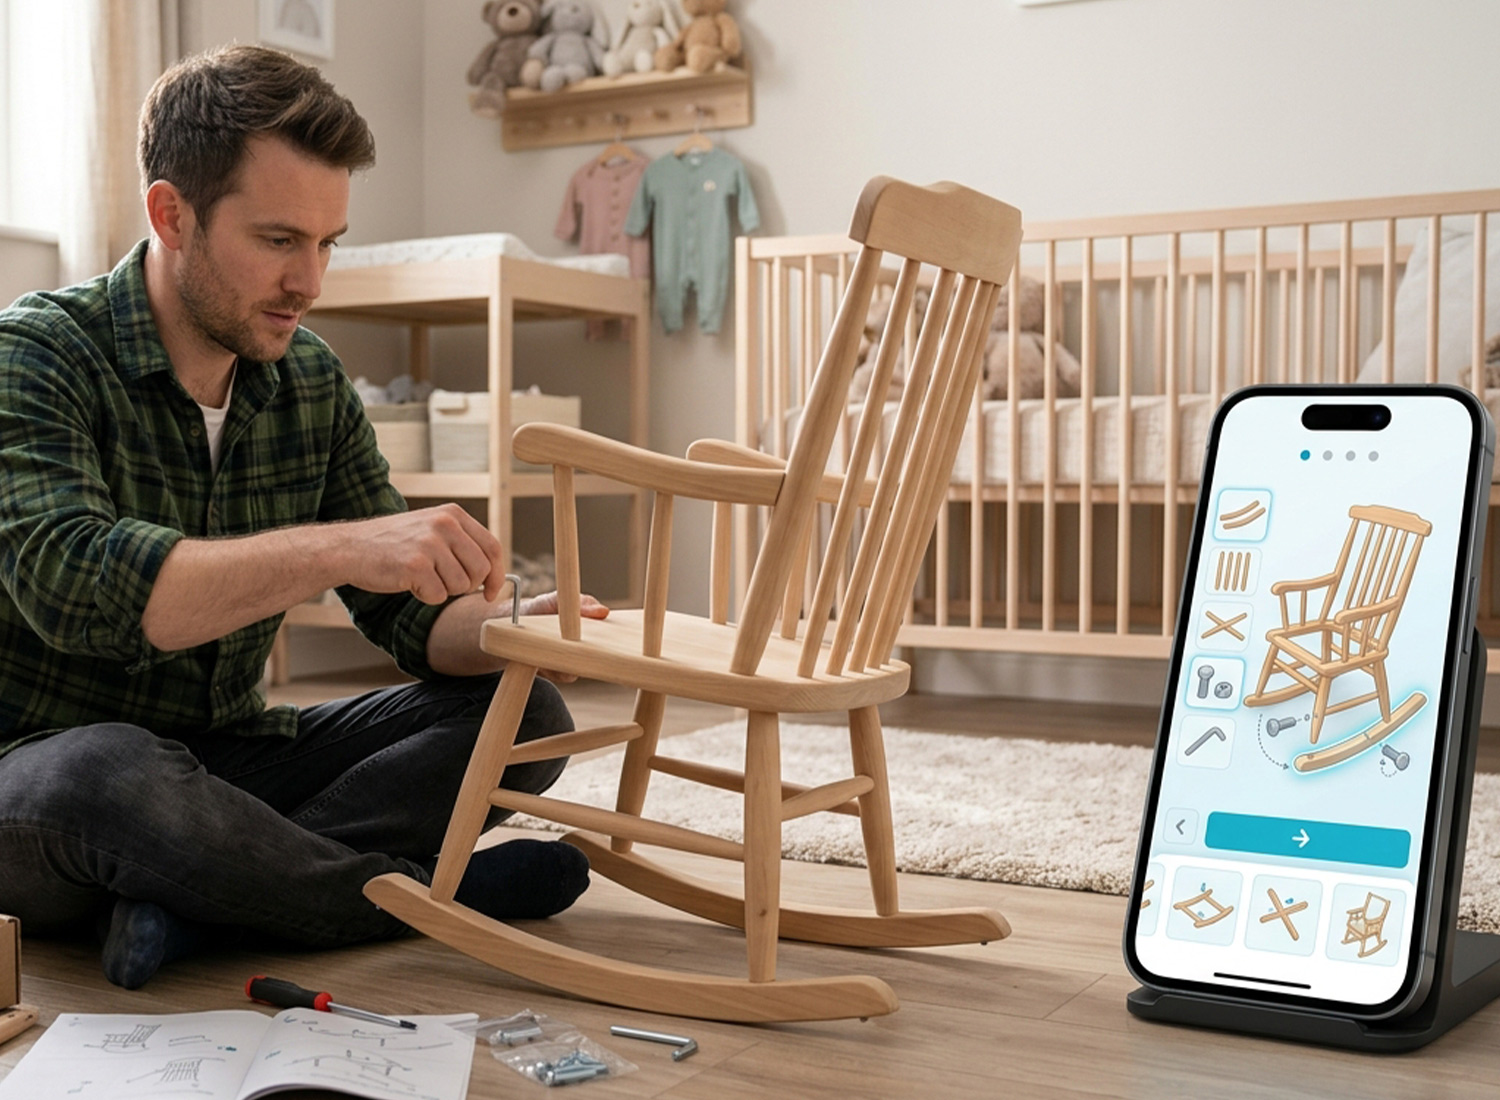
There's a specific kind of quiet panic that hits around 9 pm, box cutter in one hand, instruction sheet in the other, when you realize the diagram makes no sense and the baby is due home from grandma's in an hour. If you've been there, you're not alone. Baby furniture has a reputation for turning calm, capable adults into people muttering at cardboard, and a rocking chair is no exception.
Here's the good news. Assembling a baby rocking chair isn't actually complicated. It just gets made to feel that way by manuals that skip steps, use tiny diagrams, or assume you already know what a "cam lock" is. Once you know the order things go in, and what to watch for, this is maybe a 30 to 45 minute job, not a weekend project.
This guide walks through what you need before you start, the actual steps in order, the mistakes that trip people up most, and why the instructions themselves matter more than people realize.
Before touching a single screw, lay everything out. It sounds obvious, but skipping this step is where most delays happen.
That last one matters more than it sounds like it should. Reading through once, even quickly, means you'll spot the tricky steps before you're mid-assembly and stuck.
If this is your first piece of nursery furniture, it's worth knowing the same logic applies to things like baby crib installation. Sort first, read the full sheet once, then build. It's the same habit either way, and it saves you from backtracking later.
Most baby rocking chairs follow a similar build pattern, even when the exact hardware differs slightly by brand.
A few small habits account for most of the frustration people run into.
This part isn't really about convenience. It's about safety, and it's worth pausing on.
An estimated 60,400 children under age 5 were treated in U.S. emergency departments for injuries associated with nursery products.
Therefore, a rocking chair holding a baby needs every joint and screw doing its job properly. When a manual is confusing, people improvise, skip steps they don't understand, or leave a connection slightly loose because the diagram wasn't clear enough to know it wasn't finished. None of that is really the parent's fault. It's a design problem with the instructions themselves.
This is part of why more brands are moving toward interactive product guides instead of static printed sheets. A guide that shows a step from multiple angles, or lets you tap through at your own pace, closes the gap between "I think I did this right" and actually knowing you did.
It's also why digital work instructions have started replacing the folded paper sheet in a lot of newer furniture packaging, especially for anything involving a baby.
At Easemble, we noticed something while looking at how furniture gets assembled at home. Most instruction problems aren't really about the furniture being hard to build. They're about static, flat diagrams trying to explain something that's genuinely three dimensional.
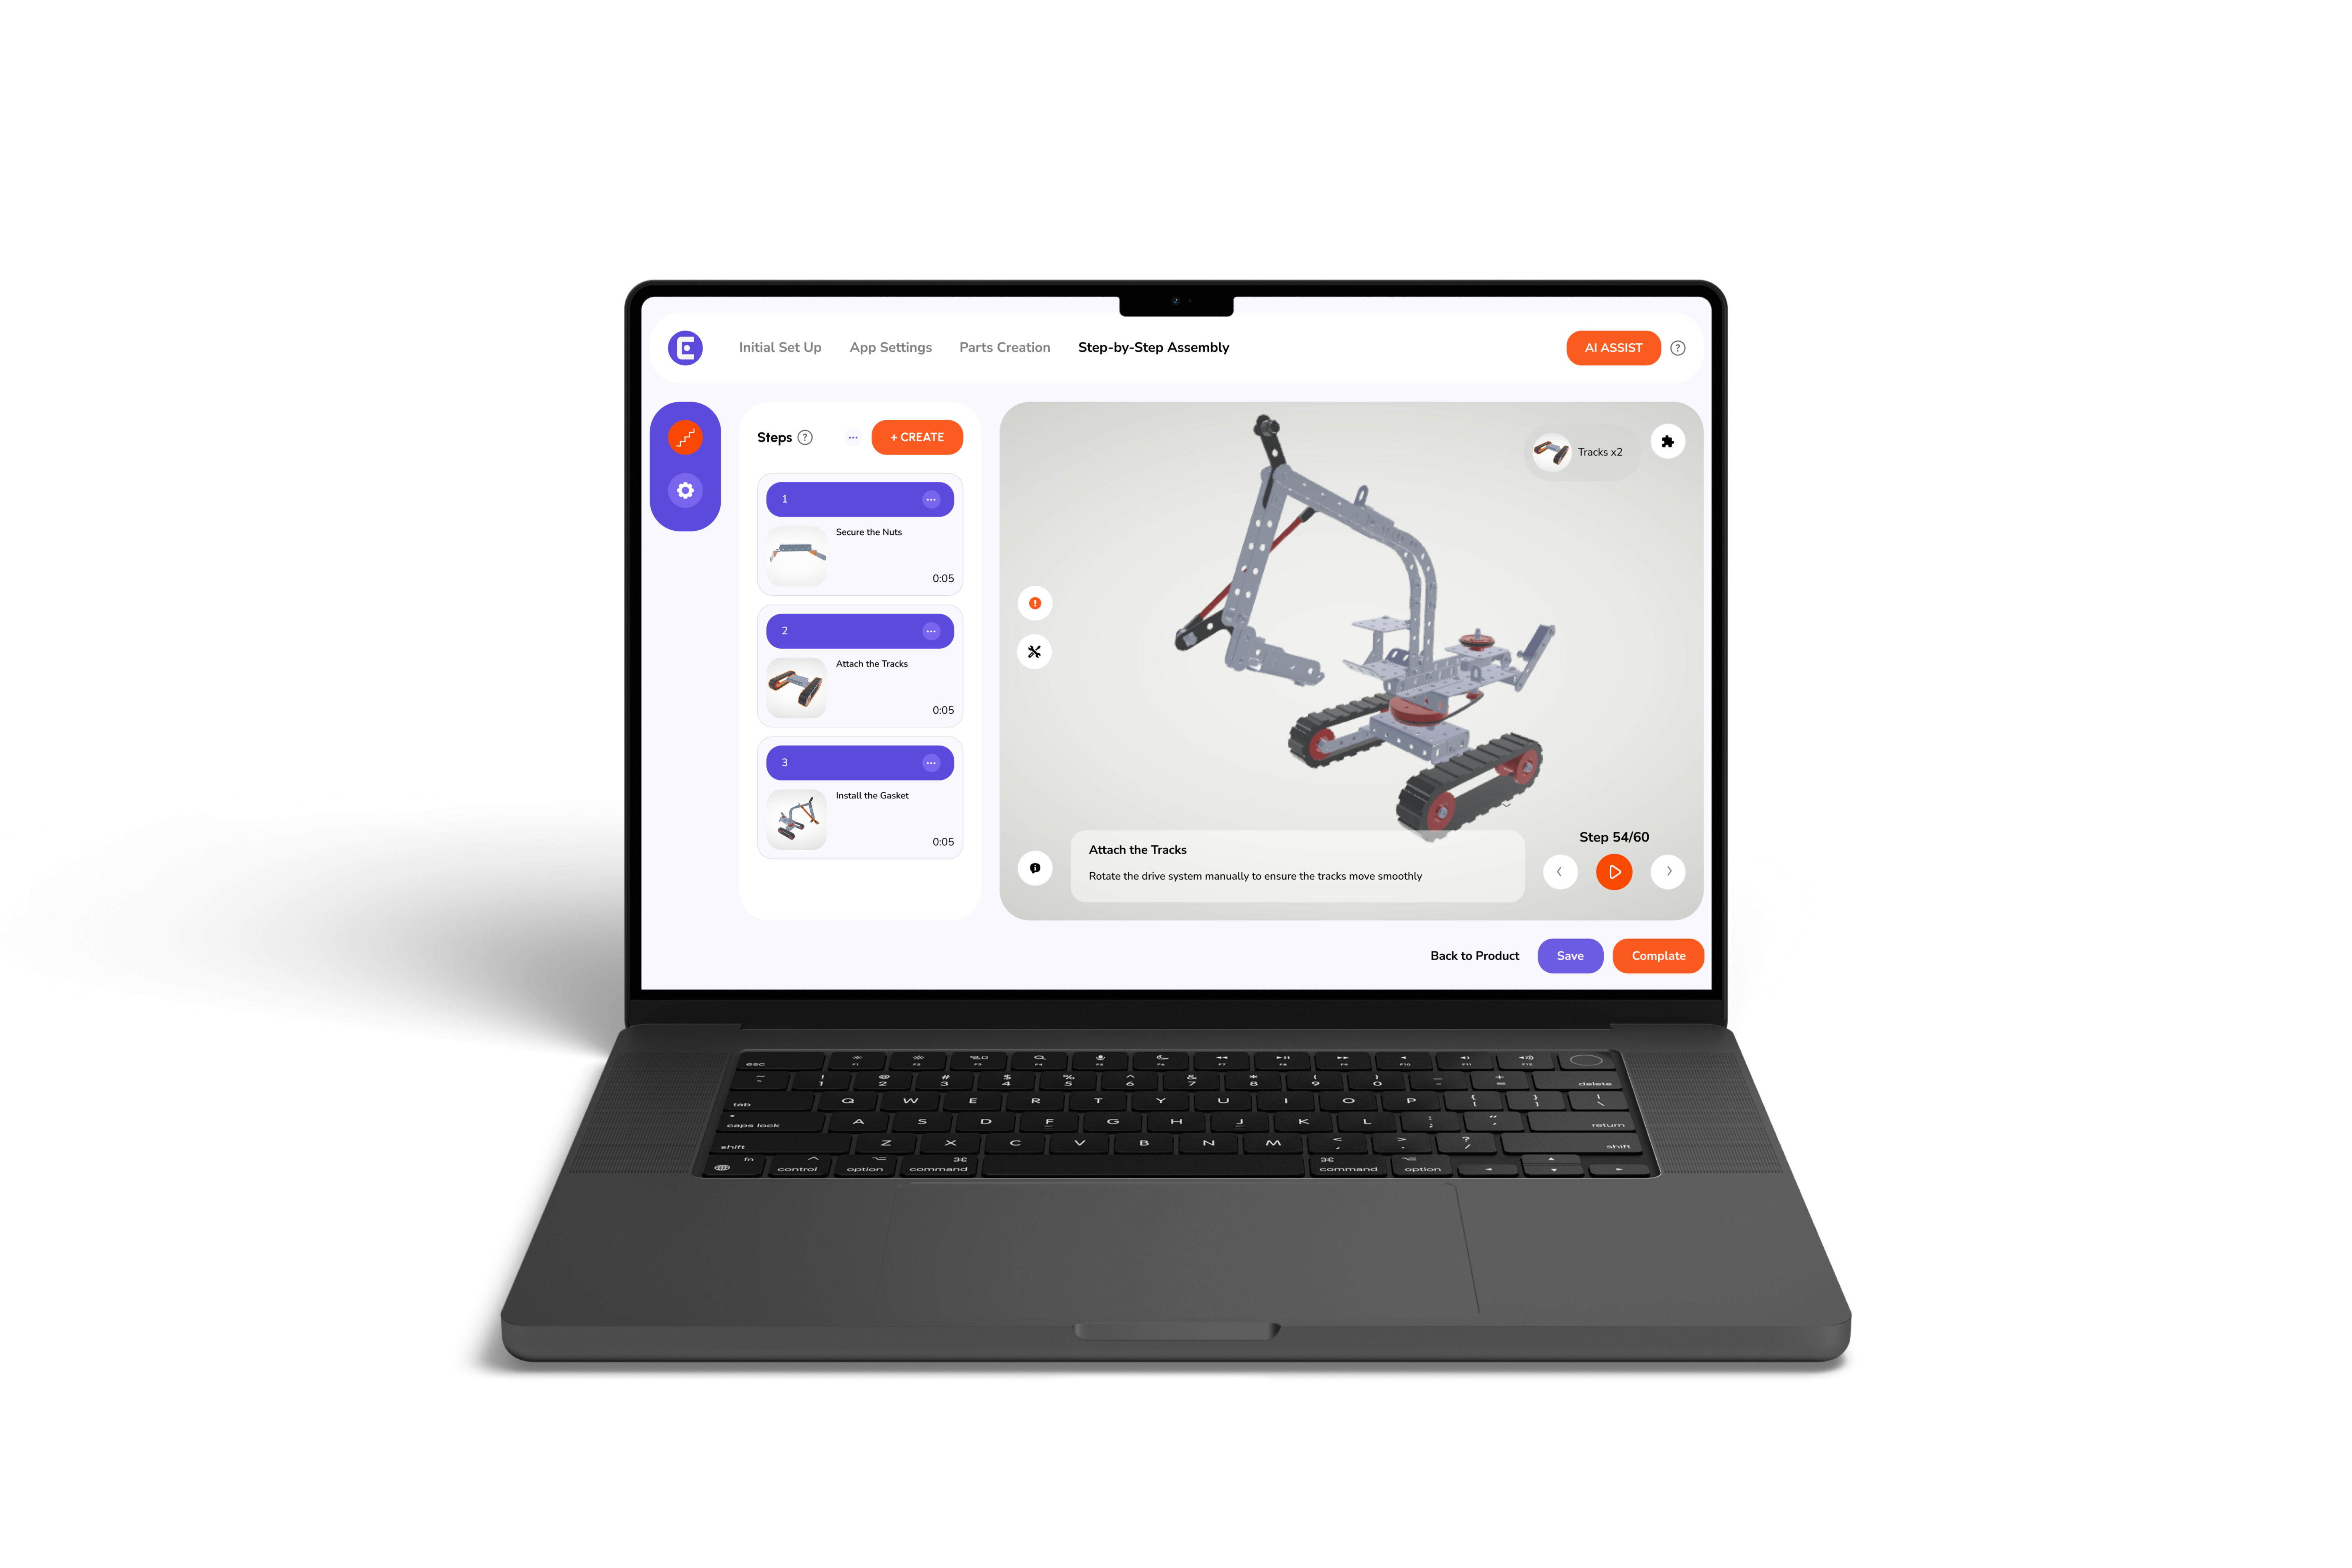
That's the gap we work on closing. Instead of a printed page with small arrows and numbered parts, we provide interactive assembly manuals for furniture manufacturers, built so a step can be viewed from any angle, zoomed in on, or walked through one piece at a time.
For manufacturers, that means fewer support calls and fewer returns over "missing" parts that were actually just hard to identify on paper. For the person building the chair, it means less guesswork and more confidence that each step was actually done right.
Assembling a baby rocking chair really comes down to a handful of things done in the right order. Sort your pieces and read through the instructions once before you touch a screwdriver.
Build the base first, then work outward from there. Hand-tighten everything before you commit to fully securing it, and take the extra few minutes to check for level and stability before you call it done. None of the individual steps are hard; it's really just about not rushing the small stuff.
Once it's built and you see your baby settle into it for the first time, the assembly frustration tends to fade pretty fast. That's usually how it goes with this kind of thing. The stress lives in the build, not in the chair itself.
Want to see how Easemble can transform your assembly instructions? Book a demo today.
Assembling a baby rocking chair typically takes 30 to 45 minutes if you sort hardware and read instructions before starting.
Tightening screws too early is the top mistake. Hand-tighten all hardware first so you can adjust alignment before final tightening.
Place the chair on a flat surface, check that all rocker points touch evenly, and adjust looseness before fully securing screws.
You need a Phillips screwdriver, a clear flat workspace, good lighting, and the included Allen key and sorted hardware.
Interactive 3D assembly guides let you view steps from any angle, reducing guesswork, misaligned parts, and assembly frustration.