July 14, 2025
5 Tips for Safe and Easy Baby Crib Installation

.png)

As a new parent, there’s a lot to prepare for - but crib assembly? That one hits differently.
You might find yourself surrounded by scattered parts, holding a half-read instruction manual that seems to make no sense, all while your baby is due any day (or already here). We understand how frustrating, confusing, and overwhelming this can be.
But here’s the truth: setting up your baby’s crib doesn’t have to be that complicated.
In this blog, we’ll share 5 practical tips based on real experiences, designed to help you follow baby crib assembly instructions easily, safely, and with way less stress.
Before you grab a screwdriver, take a deep breath and read the manual - all the way through.
Every brand has slightly different baby crib assembly instructions, so what worked for your friend’s crib may not work for yours.
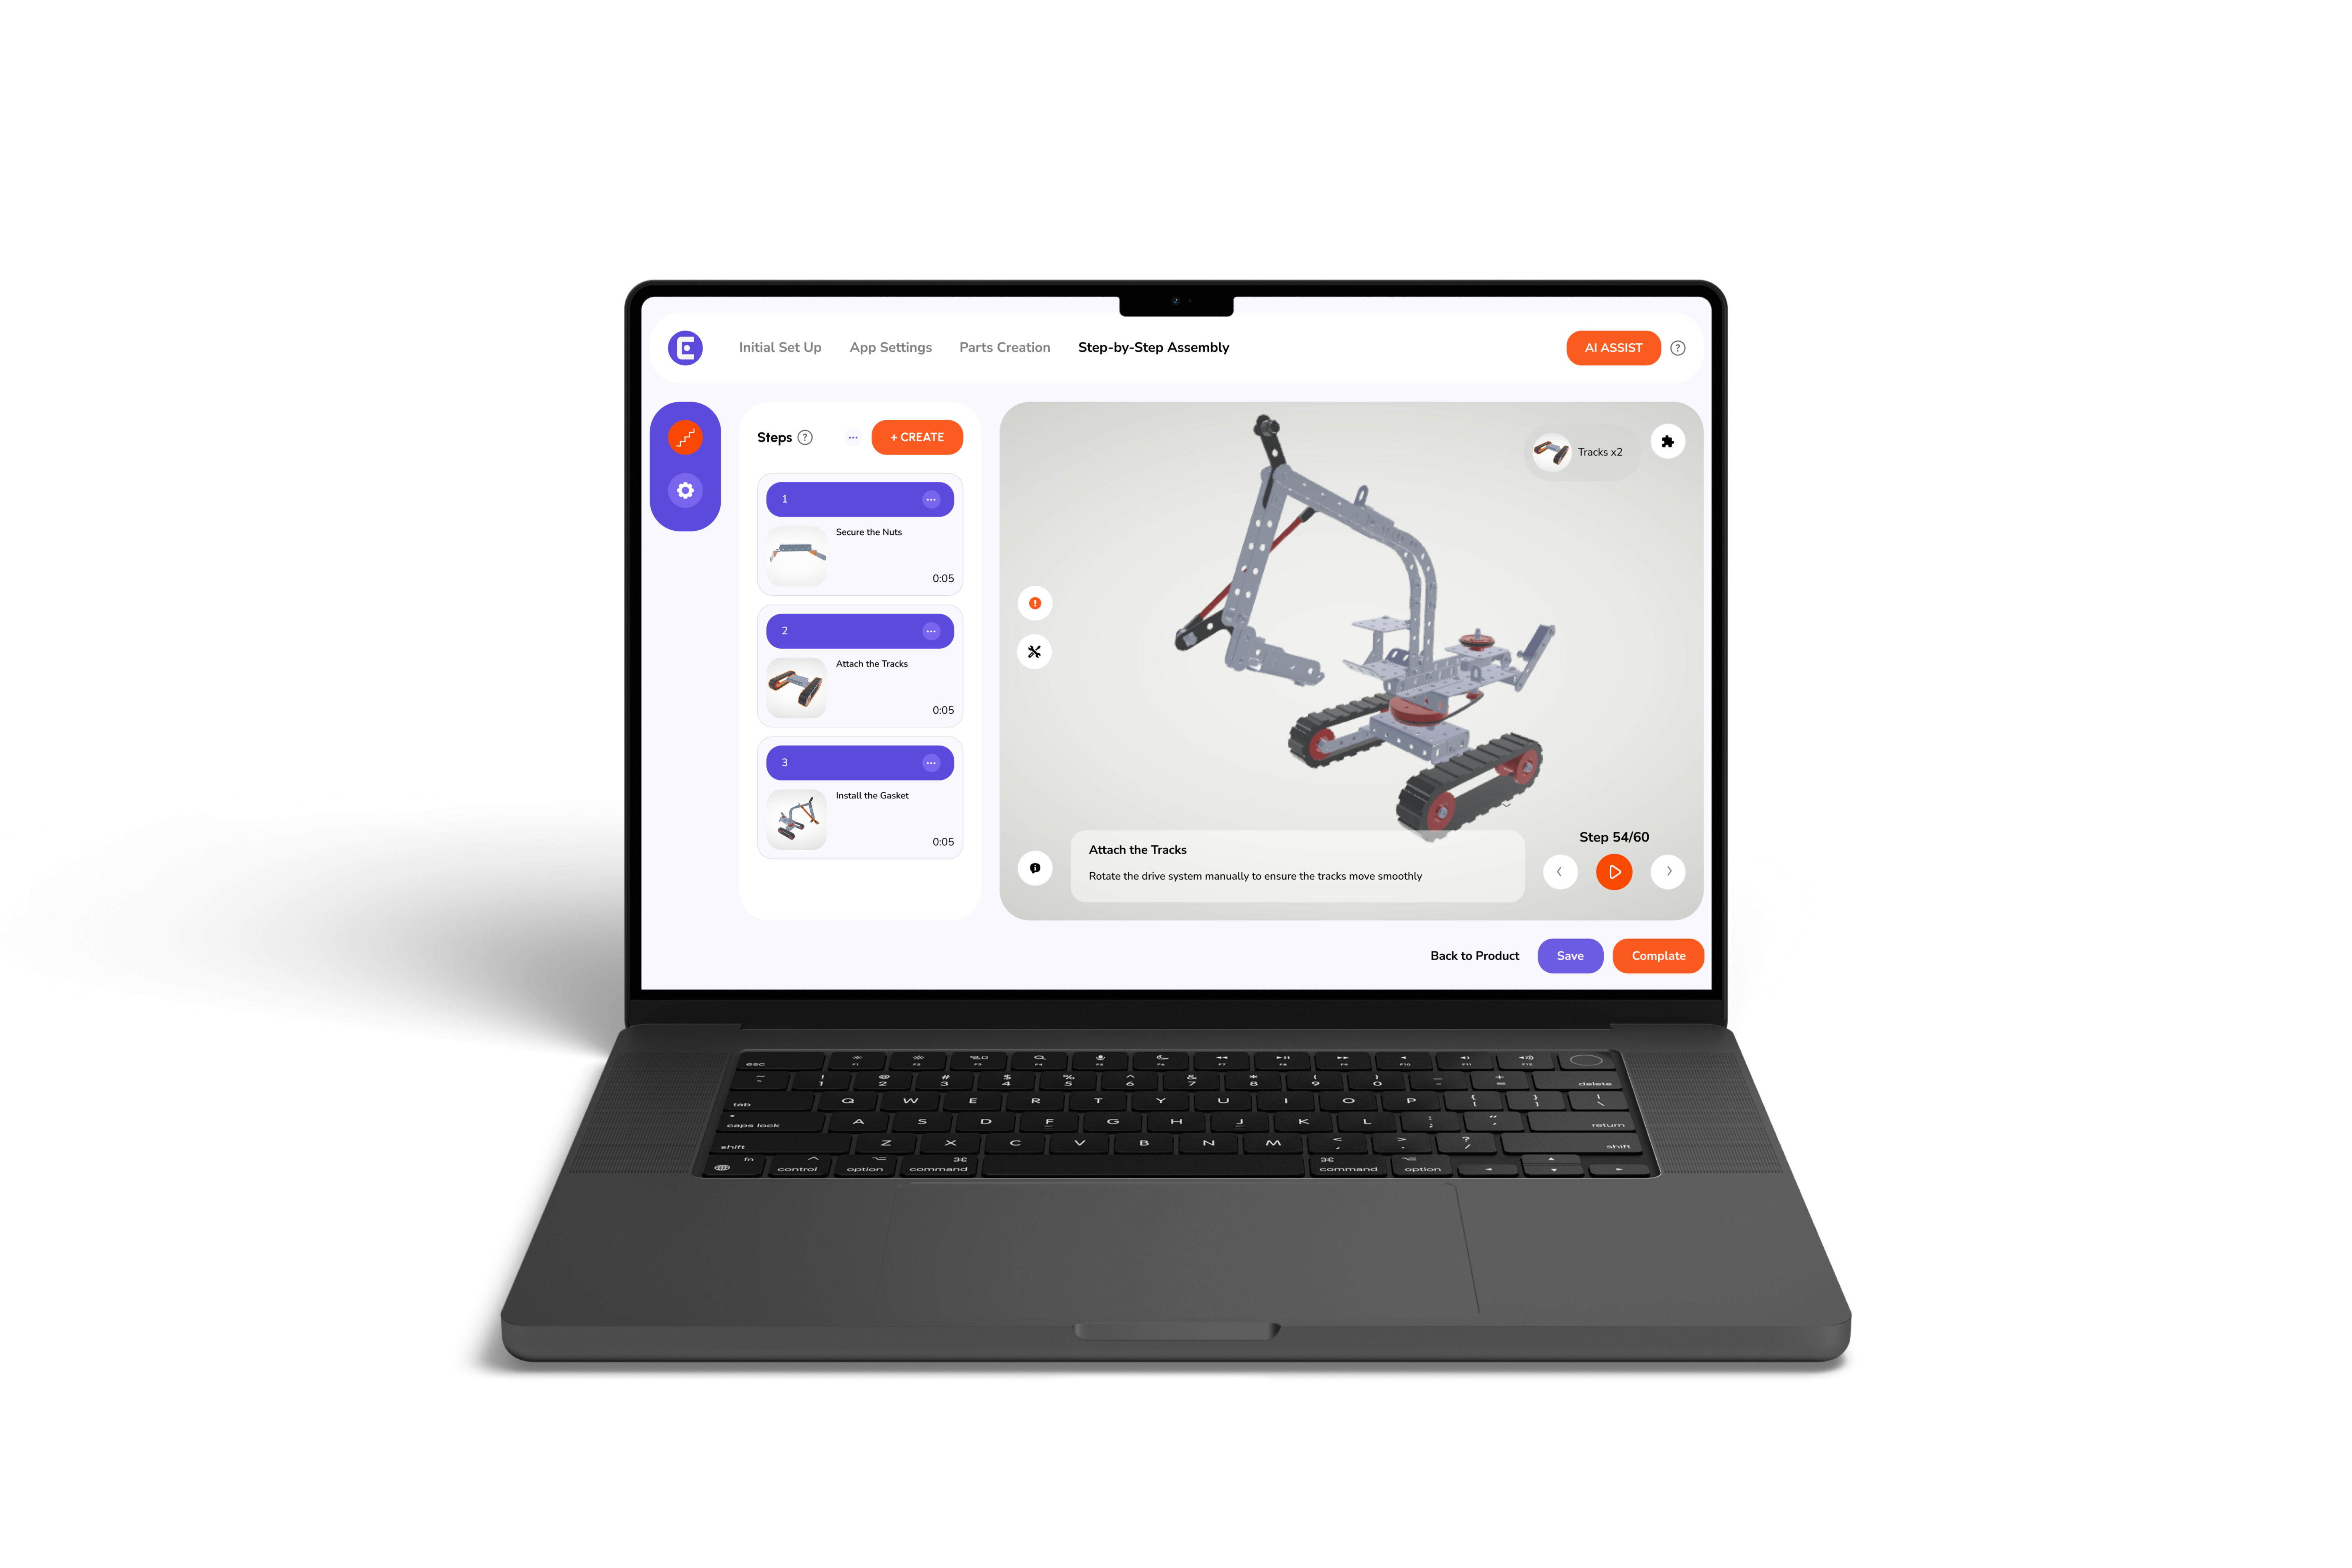
Many companies now include digital support like baby crib assembly instructions in 3D, allowing you to rotate, zoom, and view every angle clearly. These instructions make it way easier to follow each step with confidence.
For instance, platforms like Easemble, a trusted Digital Assembly Solutions Provider, offer 3D Interactive Manuals for Furniture that break down complex builds into simple, visual steps - especially helpful for first-time parents.
Next, pick a safe and permanent spot for the crib. Avoid placing it near windows, heaters, cords, or anything your baby could reach and pull.
It’s not just about aesthetics; it’s about reducing safety risks and preventing accidents.
Also, set up the crib in the room where it will stay. Many parents have built cribs in hallways or other temporary spaces, only to find out it won’t fit through the nursery door. That’s frustrating and time-consuming.
Once you’ve chosen the spot, clear the floor and lay down a blanket or rug to protect your crib and floor from scratches. Then unpack every piece and compare it with your parts list. Sorting screws and panels now will save you time later.
Think of it like cooking - would you start a recipe without checking if you had all the ingredients?
Empty every bag, sort the screws and panels, and match each item to your instructions. If something’s missing, it’s better to find out now than halfway through.
If you're using an assembly manual software like Easemble, it’ll show you each part visually. This is a game-changer when you’re trying to tell the difference between lookalike screws or rods.
One user shared, “My partner swore we were missing a part - turns out it was still inside the mattress base box.”
With 3D manuals, you can rotate and zoom through animations that make each piece and angle easier to understand.
Rushing through crib setup usually leads to misaligned holes, stripped screws, and next-level frustration.
Start slow. Easy crib installation depends on giving yourself time and space to figure things out.
Don’t fully tighten any screws until the whole frame is assembled - cribs often require minor adjustments along the way. If you’re following 3D assemble baby crib guides, you’ll see animations that help you avoid common mistakes before they happen.
If something feels off, don’t force it. Backtrack a step and recheck the instructions - it’s usually just a flipped panel or a missing washer.
You’ve finished building the crib - great! But now’s the time to go through the essential safety checklist.
Here’s what to look for to make sure everything is secure:
Remember, the safest crib is a bare crib - especially for newborns. Want to be extra diligent? Flip back through the digital instructions one more time before calling it done.
{{furniture}}
There’s a reason more parents are ditching paper guides for baby crib assembly instructions in 3D: they’re clearer, easier to follow, and way more flexible.
Here’s a quick comparison:
Easemble’s assembly manual software lets you move at your own pace, scroll back if needed, and even replay a step. It’s like having a crib-building coach in your pocket.
{{furniture}}
Congratulations, you did it! Crib assembly might have felt intimidating at first, but now you’ve got it handled.
Thanks to smarter tools, better prep, and helpful guides, you were able to set up your baby crib safely, without complications or confusions.
If your crib supports it, try using baby crib assembly instructions in 3D through platforms like Easemble. Our platform is made for parents like you, no boring jitter jatter, just step-by-step help when you need it most.
Ready to switch to 3D interactive manuals? See if your crib brand supports 3D guides - or click here to get started.