October 23, 2026
How to Assemble an Adirondack Chair: A 3D Interactive Guide
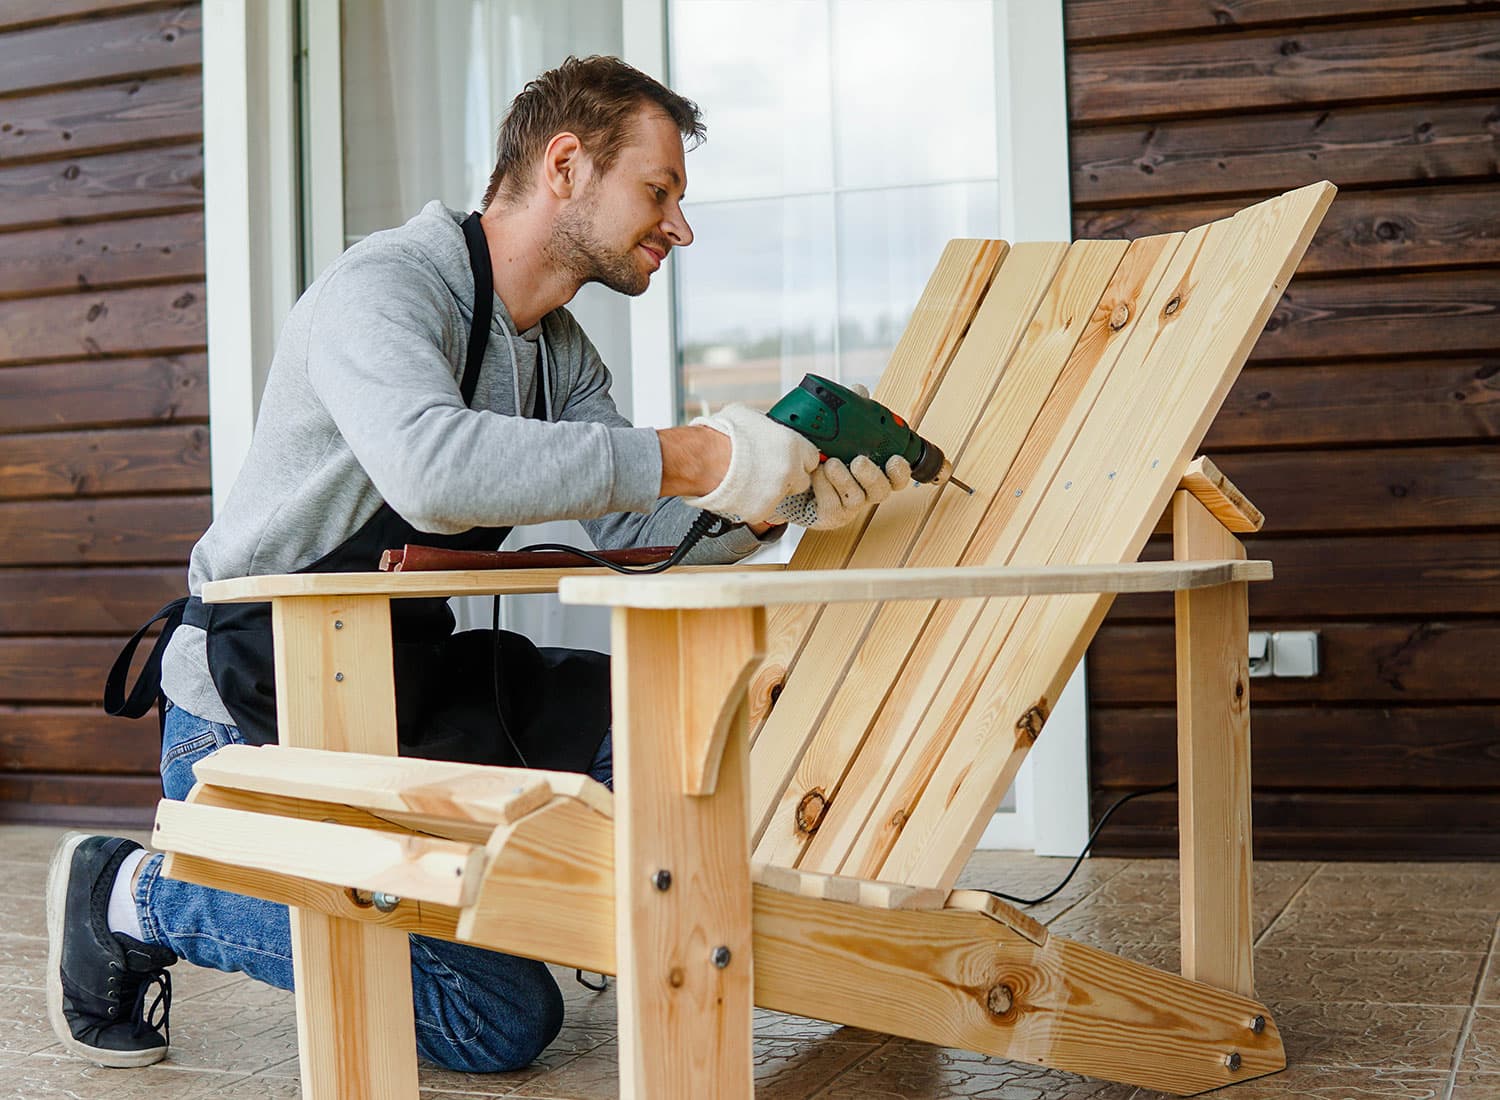


To assemble an Adirondack chair, identify the parts, sort the hardware, and follow the manufacturer's instructions in order. Most kits require you to connect the seat, side supports, backrest, armrests, and any braces. Align the frame before fully tightening fasteners, if the instructions allow, then inspect the finished chair for loose connections and instability.
It’s Saturday. The box is open on the lawn, the sun is out, and you’re about to figure out how to assemble an Adirondack chair from a pile of slats, supports, and bolts. The diagram shows one angle. Your pieces seem to have five.
That's one of the most frustrating things about furniture assembly. A picture is trying to explain a chair with angled legs, a sloping backrest, and parts that look almost identical.
This Adirondack chair assembly guide breaks the job into practical steps. You'll learn what to check before starting, how to handle common assembly problems, and when 3D instructions can help you avoid guesswork.
Good Adirondack chair assembly instructions begin before the first bolt. Sorting everything first can prevent mistakes that are harder to fix later.
Your kit may contain:
Compare the parts with the manufacturer's inventory list. Check for damaged components and missing hardware, and separate fasteners by size.
These checks help prevent common furniture assembly problems, such as mixing up similar parts or discovering missing screws halfway through the build.
Use the tools specified in your chair's manual. Depending on the model, you may need a screwdriver, Allen key, or wrench.
Set up on a flat surface with enough room to lay out the components. Keep the instructions nearby and protect the chair's finish with cardboard or a soft cloth if needed.
Before moving on: Can you identify every part and match it to the diagram? If not, sort out the labels and orientation first.
The exact sequence varies by model. Some chairs arrive partly assembled, while others require you to connect every component. Follow the manufacturer's instructions whenever they differ from this general sequence.
Locate the seat, supports, backrest, armrests, and braces. Check the diagram for left and right components, and note which surfaces face inward or outward.
Lay the pieces out in their approximate positions. This makes it easier to understand how the frame fits together before you start fastening anything.
Connect the seat to the specified legs or side supports using the supplied hardware. Start each screw or bolt carefully so it engages correctly.
If the manual allows, leave the connections slightly loose. This gives you room to adjust the frame when you attach the other components.
Position the backrest against the seat or rear supports as shown in the instructions. Check the angle, slat direction, and mounting holes before securing it.
If the backrest doesn't sit correctly, pause and recheck the orientation. Don't pull parts into position by forcing the fasteners.
Identify the left and right armrests, then connect them to their designated supports. Compare the mounting holes and angles with the diagram before tightening.
If an armrest doesn't line up, check that the supports and backrest are positioned correctly. Loosen nearby connections only if the instructions permit it.
Attach any cross braces, washers, nuts, or additional supports specified in the manual. Make sure each component is in its intended position before tightening the fasteners.
Once the main frame is aligned, tighten the connections according to the manufacturer's instructions. Don't overtighten screws or bolts beyond the specified requirements.
Place the chair on level ground and check for loose connections, incorrectly positioned parts, damaged components, or sharp edges.
Apply gentle pressure to the seat and armrests to check for instability. If the chair wobbles or a joint moves unexpectedly, identify and correct the problem before use.
Treat this final check as your Adirondack chair installation guide for the finish line. Set the chair on level ground, test it, and recheck the fasteners after the first week, since hardware can loosen with use.
If something doesn't fit, stop and check the likely cause instead of forcing the parts together.
These check-first habits carry over to other builds. If you’re setting up nursery furniture, see how to assemble a baby rocking chair the same way.
Yes. Before using it, confirm that the fasteners are secure and the chair sits stably on a level surface. Follow the manufacturer's instructions for periodic checks, especially if the chair is used frequently outdoors.
For wooden chairs, outdoor care matters too. The USDA Forest Products Laboratory explains that wood exchanges moisture with the surrounding air, and changes in moisture content can affect its dimensions. Follow the manufacturer's guidance on protective finishes, storage, and weather exposure.
A paper diagram can show where a part belongs without making its orientation obvious. That can be a problem when an Adirondack chair has angled supports, curved slats, or connections that are difficult to see from one view.
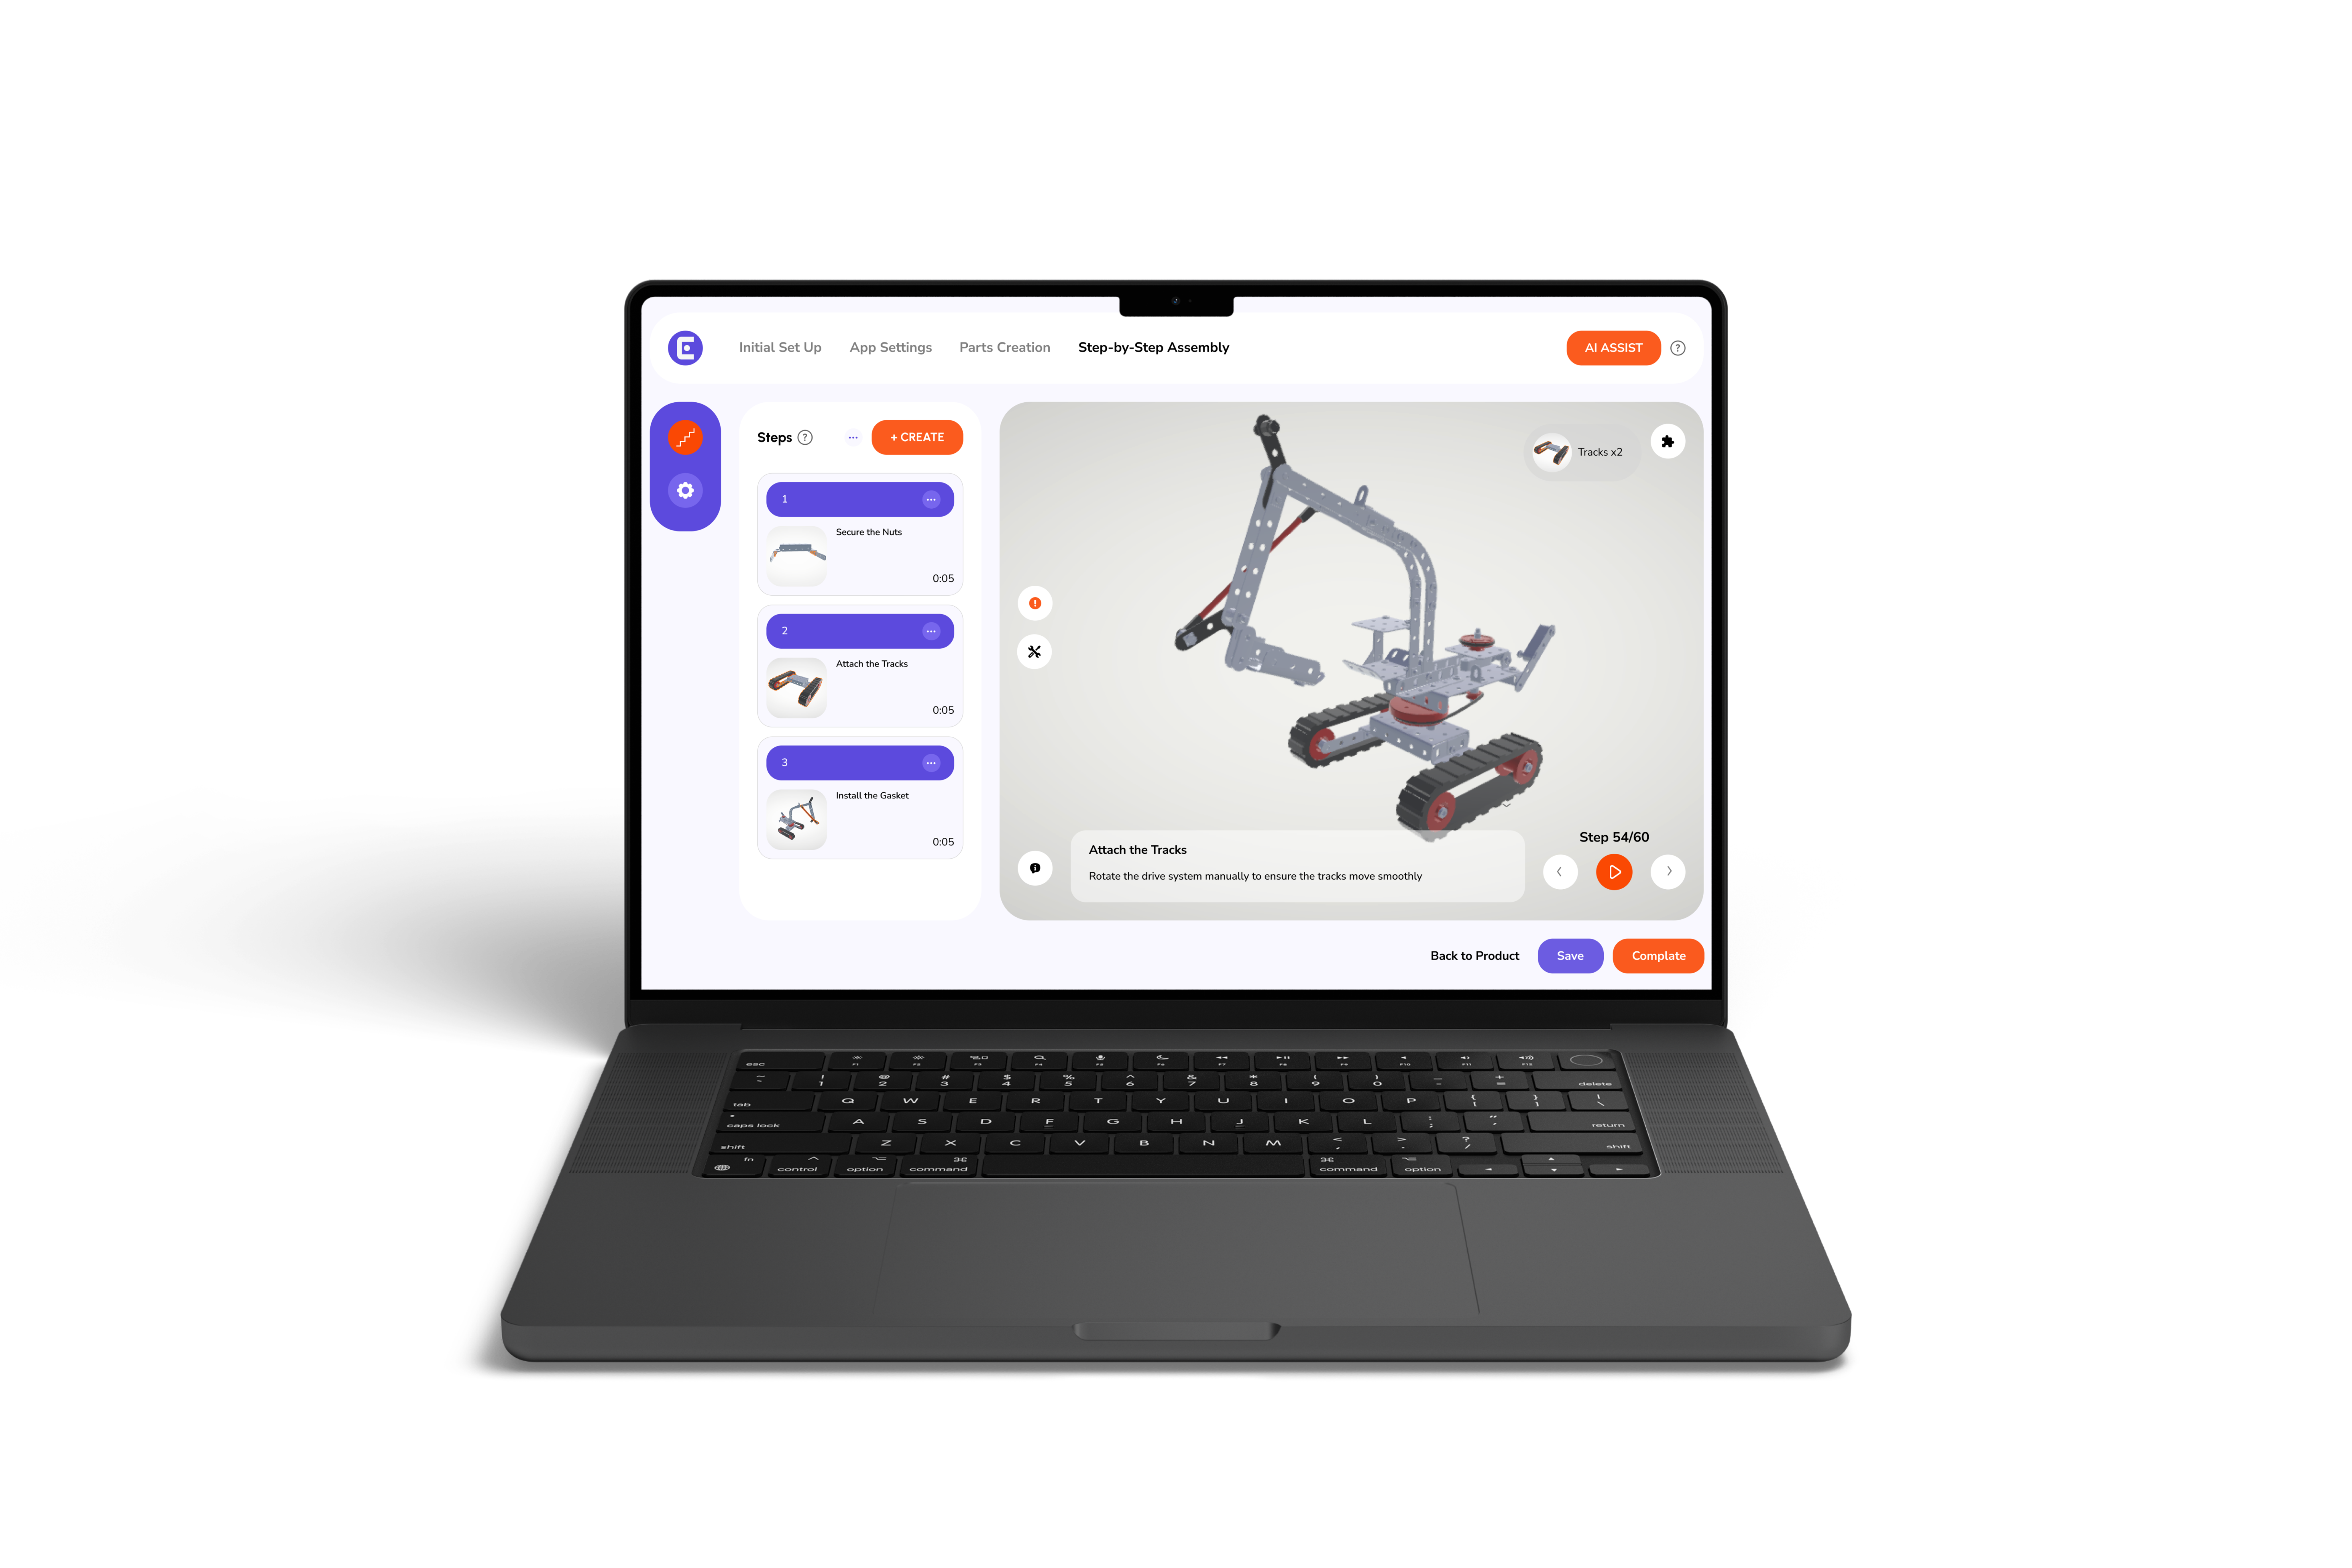
A 3D product manual gives users another way to inspect the assembly. Depending on its features, it may let them rotate the model, zoom in on connection points, and follow the steps in sequence.
That's what makes 3D furniture assembly instructions easier: users can inspect how components fit together rather than relying on a single flat image.
An interactive furniture assembly guide is especially useful when users need to:
A digital assembly guide doesn't replace accurate product instructions or safety warnings. It gives users a more visual way to understand the steps.
The same assembly problems that frustrate customers can create extra work for furniture brands. When users can't identify a part or understand a connection, they may need help before they can finish the build.
Easemble helps manufacturers create interactive product manuals that present assembly steps visually. Users can access the guides digitally and inspect product models using supported viewing features.
Outdoor furniture is a relevant example. In our Adirondack chair assembly success story, Easemble features the Best Adirondack Chair Company and its use of interactive 3D assembly instructions.
For brands producing chairs and other furniture, 3D interactive manuals for furniture offer a way to show how product components fit together. Easemble's assembly manual software supports the creation of digital instructions, while our role as a digital assembly solutions provider focuses on helping businesses present assembly steps more clearly.
The key is to make each instruction match the actual product. A 3D guide can clarify part placement, but manufacturer specifications and safety requirements must still determine how the chair should be assembled.
Learning how to assemble an Adirondack chair is easier when you identify the parts first, follow the correct assembly sequence, and check every connection before use. If a part doesn’t fit, stop and verify its orientation instead of forcing it into place.
When a paper diagram leaves you guessing, a 3D product manual can show each connection from different angles. Customers get clearer visual guidance, while furniture brands have another way to explain how their products should be assembled.
How long does it take to assemble an Adirondack chair?
Assembling an Adirondack chair typically takes 20 to 60 minutes, depending on its design and how many parts require assembly. Pre-assembled models may take less time, while fully flat-packed wooden chairs can take longer. Sorting the hardware and following the correct assembly sequence can help prevent mistakes and save time.
Can one person assemble an Adirondack chair?
Some models are manageable for one person, while heavier or awkward components may be easier to position with help. Follow the manufacturer's recommendations.
Should I tighten all the bolts before attaching the backrest?
Not necessarily. Some designs are easier to align when fasteners remain slightly loose until the main frame is assembled. Follow your model's instructions if they specify a different sequence.
What should I do if the screw holes don't line up?
Check that the parts are correctly oriented and that you're using the specified hardware. If the instructions allow, loosen nearby connections and realign the pieces. Never force a screw or drill new holes unless the manufacturer directs you to do so.
Can I use a 3D guide instead of the printed manual?
A 3D guide can make part orientation and connections easier to understand, but it shouldn't replace the manufacturer's safety warnings or model-specific requirements. Use both when needed.