July 15, 2025
Pergola Installation with 3D Instructions: Build Your Dream Outdoor Space
.png)

A pergola is more than just a stylish addition to your backyard — it’s a cozy spot for relaxing, entertaining, or simply enjoying some shade on a sunny day. With their open, airy structure and endless design possibilities, pergolas are quickly becoming a favorite among homeowners who want to bring charm, comfort, and character to their outdoor space.
You're in luck. You don’t have to hire a contractor or be a pro to make it happen. With today’s easy-to-follow pergola assembly instructions and beginner-friendly kits, you can install a backyard pergola all on your own — even as a weekend project!
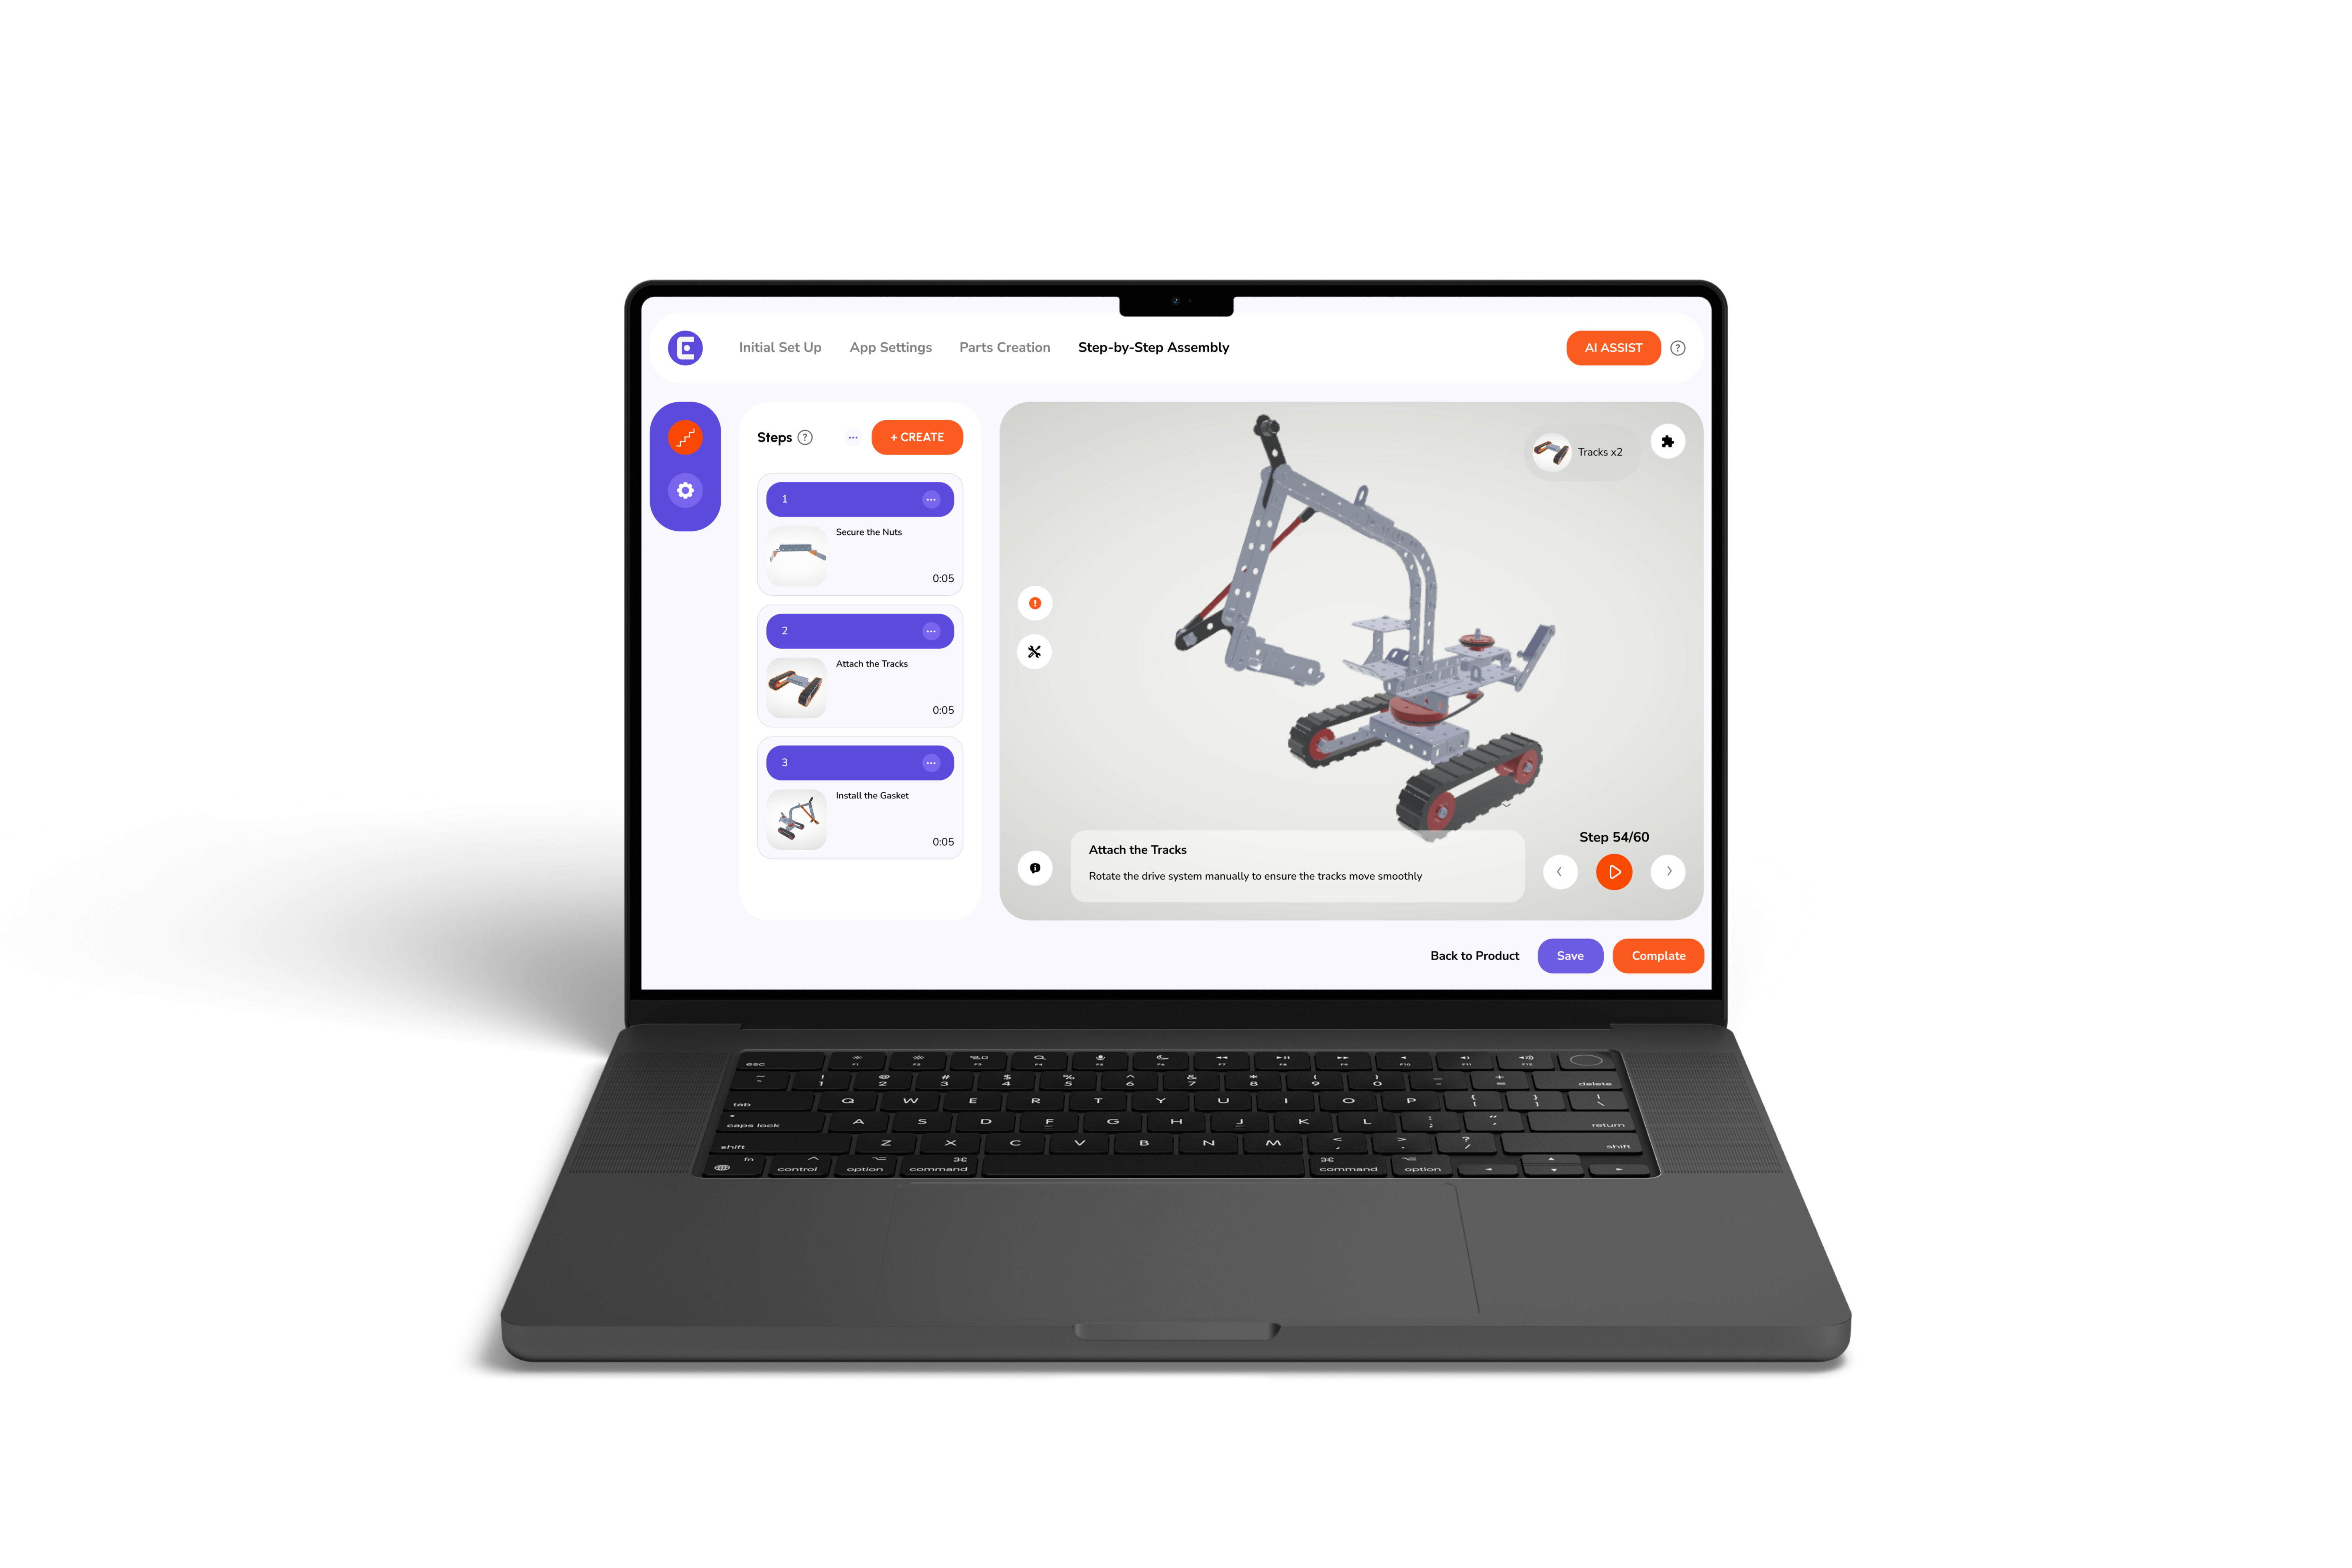
Thanks to innovations like 3D assembly guides for pergola, the process is no longer intimidating. These guides break everything down step by step, making DIY pergola setup a breeze. And if you're wondering how to assemble pergola parts without guesswork, that's where tools like the 3D Assembly Manuals come in handy. They offer crystal-clear visual directions so you can build with confidence.
Want an even smoother experience? Some kits now include a 3D Animations Feature, which shows real-time visualizations of the building process, reducing the risk of mistakes. Paired with 3D Assembly Guides, these tools take the guesswork out of building and help you achieve easy pergola assembly from start to finish.
So, whether you're enhancing your space for summer parties or just want a peaceful spot to unwind, now’s the perfect time to roll up your sleeves and create your dream pergola — no contractor, no stress, just results.
Before you dive into your backyard project, let’s make sure you’ve got everything covered. A pergola installation is a rewarding way to elevate your space, and with just a bit of prep, the process can be smooth and enjoyable.
Start by considering how you plan to use the space. Hosting weekend cookouts? Creating a quiet reading corner? Measure your area and choose a pergola design that fits both your space and your vibe. Whether rustic or modern, the right setup can instantly add aesthetic and functional value to outdoor spaces.
Missing tools can derail your progress fast. Keep it simple: drills, screws, brackets, levelers, and your pergola kit. Planning ahead ensures a hassle-free experience when following your pergola assembly instructions.
Often overlooked but highly important, this step helps avoid legal hiccups. Check if your municipality or HOA requires permits for outdoor structures. It only takes a quick call to stay compliant and avoid delays.
So, you've picked out your pergola—great choice! Now comes the fun part: putting it all together. Don’t worry, with the right guide and tools, pergola installation can actually be an exciting weekend project.
Start by laying everything out and cross-checking the parts with your instruction manual. This helps ensure you're not missing anything before you begin your DIY pergola setup. From brackets to beams, identifying components early will make the process smoother.
Once you've organized the materials, take a moment to understand the layout. Many kits now include 3D construction assembly guides to help you visualize where each part fits. These guides are especially helpful for beginners wondering how to assemble pergola components without confusion.
Follow your pergola assembly instructions closely—starting with the base and working your way up. If you're looking for a more visual approach, some kits also feature the 3D Animations Feature, which brings the process to life, showing each step in motion. This makes it easy to install a backyard pergola without second-guessing every screw and support beam.
With a clear plan, a bit of patience, and helpful tools, you’ll experience easy pergola assembly from start to finish. So roll up your sleeves—it’s time to bring your backyard vision to life.
{{construction}}
Putting up a pergola doesn’t have to be a puzzle. With the right mindset, tools, and a few smart tricks, pergola installation can be smooth, safe, and even fun. Whether you're a first-timer or a weekend DIYer, these tips will help you set the stage for a stunning structure.
Even with the best pergola assembly instructions, rushing into the project without planning is a common mistake. Many people forget to double-check measurements or skip pre-drilling holes, leading to wobbly builds or misaligned beams. Always read the full guide before starting, especially if you’re using 3D assembly guides for pergola, which can show you how everything fits before you even lift a tool.
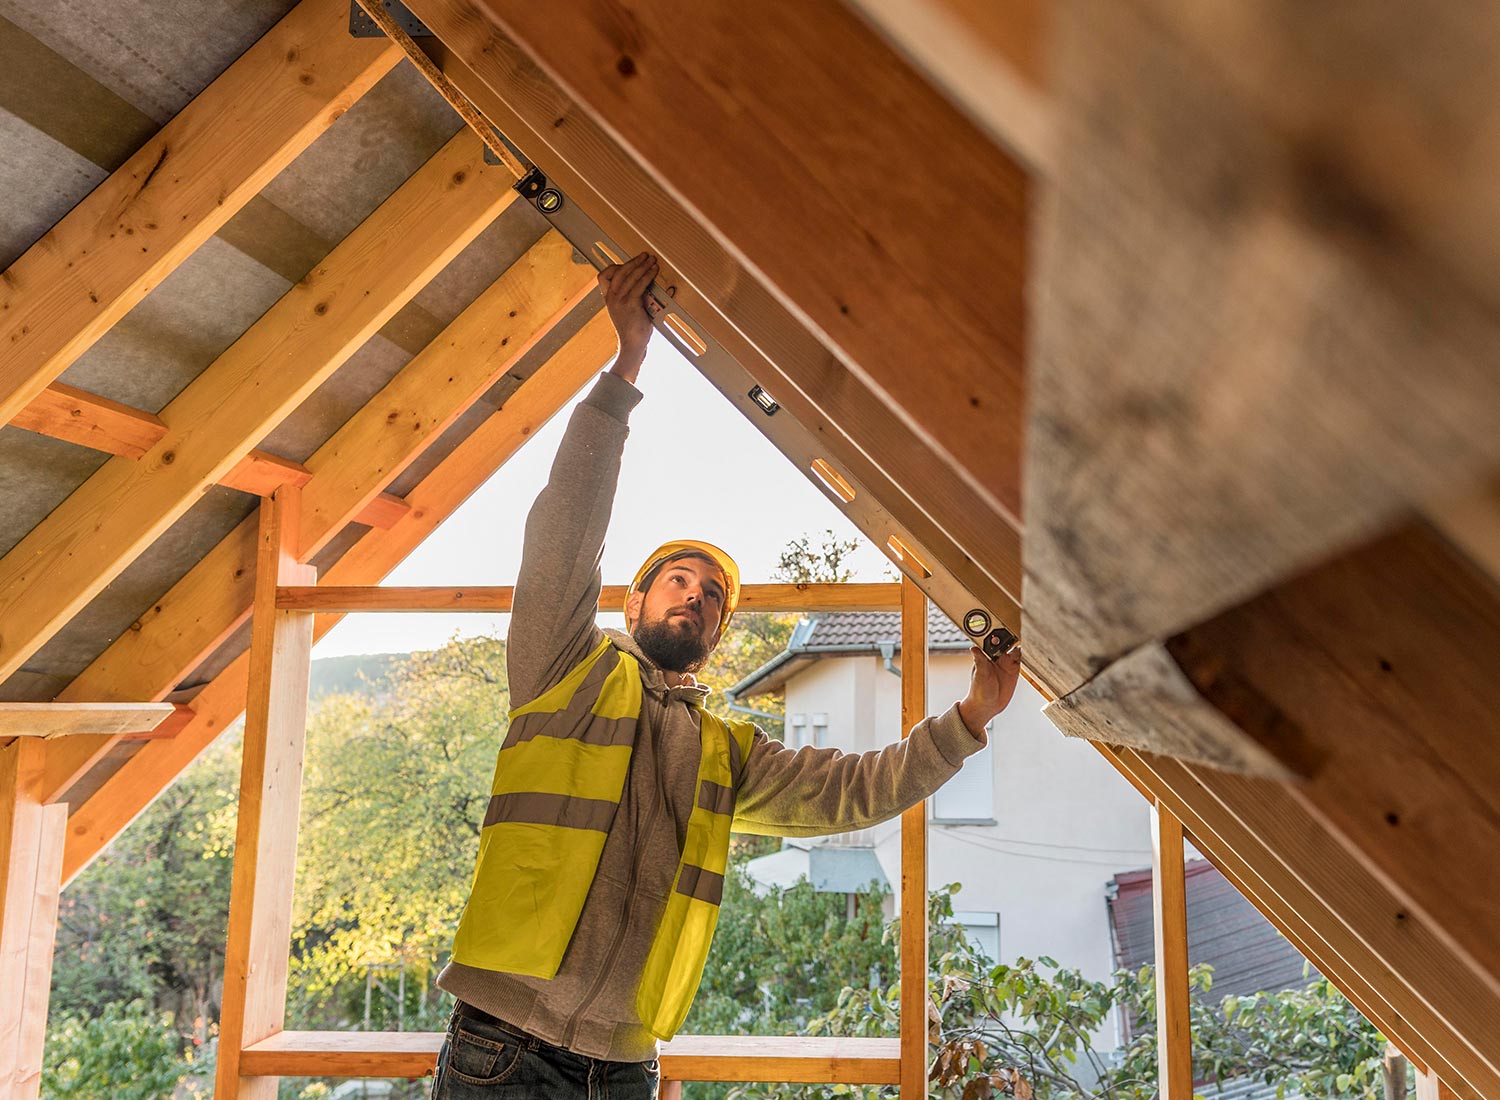
Safety first, always! Wear protective gloves and eyewear, and if you're using power tools, make sure they’re in good condition. It’s also smart to work with a buddy when lifting or adjusting large parts. A pergola may look airy, but its beams are no joke.
Level ground is your best friend. Before anchoring anything, use a measuring tape, string line, and level to make sure your base layout is square. This one step sets the tone for an easy pergola assembly. When connecting beams, tighten bolts just enough to allow for adjustments—then go back and fully secure them once everything is perfectly lined up.
So if you’re ready to install a backyard pergola, just remember: prep smart, measure twice, and take your time. With the right tools and techniques, your DIY pergola setup will not only look amazing — it’ll last for years to come.
Once your pergola is up, it’s time to add those personal touches that make it truly yours. A coat of paint or stain not only boosts visual appeal but also protects the wood from weather damage. Choose a finish that complements your outdoor theme—natural tones for a rustic feel or bold colors for a modern twist.
Want to enjoy your pergola after sunset? Add string lights, lanterns, or built-in LED lighting to create a cozy, inviting atmosphere perfect for evening gatherings.
As the seasons change, your pergola will need a little TLC. In the fall, clear away leaves and debris. In winter, check for snow buildup if you’re in a colder climate. Come spring, inspect for any wear and tighten any loose fittings to keep things sturdy.
Regularly clean the surface with mild soap and water to keep it looking fresh. Reapply stain or paint every couple of years, depending on exposure. For metal pergolas, check for rust and treat it promptly. Staying on top of these simple tasks will ensure your pergola stays beautiful and functional for years to come.
{{construction}}
Assembling a pergola is easier than ever with the right tools, preparation, and guidance. Avoid common mistakes, follow safety steps, and take time aligning parts for a smooth build. With thoughtful planning and helpful resources, your DIY pergola setup will enhance your outdoor space with lasting beauty and functional charm.