October 13, 2026

How to Assemble a Mountain Bike: A 3D Interactive Guide

Quick Answer

To assemble a mountain bike, inspect the frame, fit the fork, headset, stem, and handlebars, then secure the wheels and install the chain and pedals. Follow specified torque and tire-pressure limits, check brakes and suspension, and test both brakes at walking speed before riding. The left pedal uses reverse threads.

Key Takeaways

  • Check components first: Inspect the frame, parts, axles, and tools before assembly.
  • Fit the cockpit correctly: Install the headset, fork, and stem, then tighten to specified torque.
  • Check wheels and drivetrain: Secure the axles, route the chain correctly, and install pedals on the correct sides.
  • Test before riding: Check brakes, steering, tires, and suspension before a slow test.

Introduction

A mountain bike can look ready to ride and still be unsafe. A fork facing the wrong way, a loose stem, or a pedal forced into the wrong crank arm can cause trouble long after the tools are put away. Knowing how to assemble a mountain bike means checking how each part fits, moves, and locks into place, not simply tightening bolts until everything feels firm.

That is where 3D interactive guidance can help. A rotatable view can show component orientation and assembly order before you commit to a step.

We'll start with the parts and tools, then work through the cockpit, wheels, drivetrain, brakes, suspension, and pre-ride checks.

Before You Start: Check the Components and Tools

Before picking up a wrench, check what your bike still needs. Some models arrive partly assembled; others need more work. Follow the manufacturer's assembly sheet for the correct order and torque values, since similar parts may have different requirements.  

What should you check before assembly?

Lay out the frame, fork, wheels, handlebars, stem, seatpost, saddle, pedals, drivetrain, and brake parts.

Check for shipping damage and confirm that axles, spacers, and washers are present. Identify the wheel-retention system before fitting a wheel: a thru-axle passes through the hub and threads into the fork or frame, while a quick-release skewer clamps the dropouts with a lever.

Park Tool's Complete Bike Assembly Checklist lists 29 numbered procedures for building a bike from a bare frame, covering tasks from frame checks and pedal installation to brake adjustment and a test ride.

Use it alongside your model-specific manual, not as a replacement. Keep suitable hex keys, a torque wrench, tire tools, and a pump nearby. Apply assembly grease only where the component maker specifies it.

A careful start makes a mountain bike assembly guide more useful and helps prevent the challenges of sports equipment assembly from becoming trail-side problems.

Preparing the Frame, Fork, and Cockpit

The front end affects how the bike steers, so take time to check the frame, fork, and headset before fitting the handlebars. A part can look correctly fitted while still having too much play or an incorrectly tightened clamp.

Assemble the front end in the correct order

  1. Inspect the frame and fork. Check for shipping damage and confirm that the fork faces forward, with its brake mounts aligned to the wheel's rotor side. Stop if you notice cracks, bends, or other damage.
  1. Fit the headset components. Pass the fork's steerer through the head tube, then fit the bearings, compression ring, cover, and spacers in the order specified by the bike manufacturer.
  1. Attach the stem and handlebars. Slide the stem onto the steerer and fit the handlebars into the stem faceplate. Keep brake hoses and cables free from twists or sharp bends.
  1. Set the headset preload. With the stem clamp bolts loose, tighten the top-cap bolt gradually until the headset has no play. The steering should still turn freely. The top cap adjusts bearing preload; it does not secure the stem for riding.
  1. Align and secure the stem. Line up the stem with the front wheel, then tighten the clamp bolts to the specified torque using a torque wrench.

Clear visual assembly instructions or an exploded 3D view can help identify the correct order of bearings, spacers, stem, and top cap.

Installing the Wheels, Drivetrain, Chain, and Pedals

Once the cockpit is secure, fit the wheels and check the parts that drive the bike forward. Correct placement matters here: a loose axle, misrouted chain, or cross-threaded pedal can cause problems once you start riding.

Follow these steps before moving on:

  1. Fit and secure the wheels. Seat each wheel fully in the fork or frame dropouts. Secure the thru-axle or quick-release system according to the manufacturer's instructions.
  1. Check the tires and brakes. Follow the tire's rotation arrow and make sure the bead sits evenly around the rim. Inflate within the specified pressure range. For disc brakes, guide the rotor between the pads without forcing it. Avoid squeezing a hydraulic brake lever while the wheel is removed unless the correct pad spacer is in place.
  1. Check the chain route. Follow the manufacturer's routing diagram to guide the chain through the rear derailleur cage. Check for any direction markings or connecting link requirements.
  1. Install the pedals. Match the left and right markings before starting. The left pedal has a reverse thread, so it tightens counterclockwise when viewed from the outside of the left crank. Start each pedal by hand to avoid damaging the crank threads, then tighten to the specified torque.

Setting Up the Brakes, Saddle, Suspension, and Final Checks

A bike can look fully assembled while still needing adjustments before its first ride. Check the brakes, saddle, and suspension carefully, since each affects control, comfort, and handling.

Complete these final adjustments

  1. Check the brakes. Squeeze both brake levers and confirm they feel firm and engage the brakes correctly. Spin each wheel to check rotor clearance and watch for persistent rubbing. Keep oil and grease away from disc rotors and pads. If the lever feels spongy or hydraulic brakes need bleeding, consult a qualified mechanic.
  1. Set the saddle height. Adjust the seat post for a comfortable riding position, keeping it above the minimum insertion depth marked by the manufacturer. Tighten the clamp to the specified torque.
  1. Set up the suspension. Follow your fork or shock manufacturer's pressure chart and sag guidance for your weight and riding style.

Pre-ride safety checklist

Component What to Check Why It Matters
Steering No headset play; stem and handlebars are secure Maintains control
Wheels Axles are secure; wheels spin freely Prevents unwanted movement or interference
Brakes Firm lever feel; clean rotors and pads Supports reliable stopping
Drivetrain Chain runs smoothly and gears shift correctly Helps prevent chain drops
Tires and Suspension Settings follow the manufacturer's guidance Supports stable handling

Learning how to assemble a mountain bike includes knowing when the work is complete. Before riding, test both brakes at walking speed on flat, open ground.

Where 3D Interactive Guidance Helps During Assembly

Static diagrams can show a bike component, but they do not always make its position or movement easy to understand. A digital assembly guide lets users rotate parts, zoom in on connections, and follow each step in sequence.

During assembly, visual guidance can clarify tasks such as:

  • Headset assembly: See how bearings, spacers, and the stem fit together.
  • Pedal installation: Identify left and right pedals and their thread directions.
  • Chain routing: Follow the chain through the derailleur cage.
  • Brake setup: See how the rotor sits between the caliper pads.

With 3D bike assembly instructions, users can inspect these details before fitting parts.  

Such 3D assembly instructions for sports equipment can make complex connections easier to understand, while interactive instruction manuals let people focus on one step at a time.

These visuals support accurate assembly, but they cannot replace manufacturer's torque specifications, component compatibility checks, or professional inspection when needed.

How Easemble Supports Clearer Assembly Guidance  

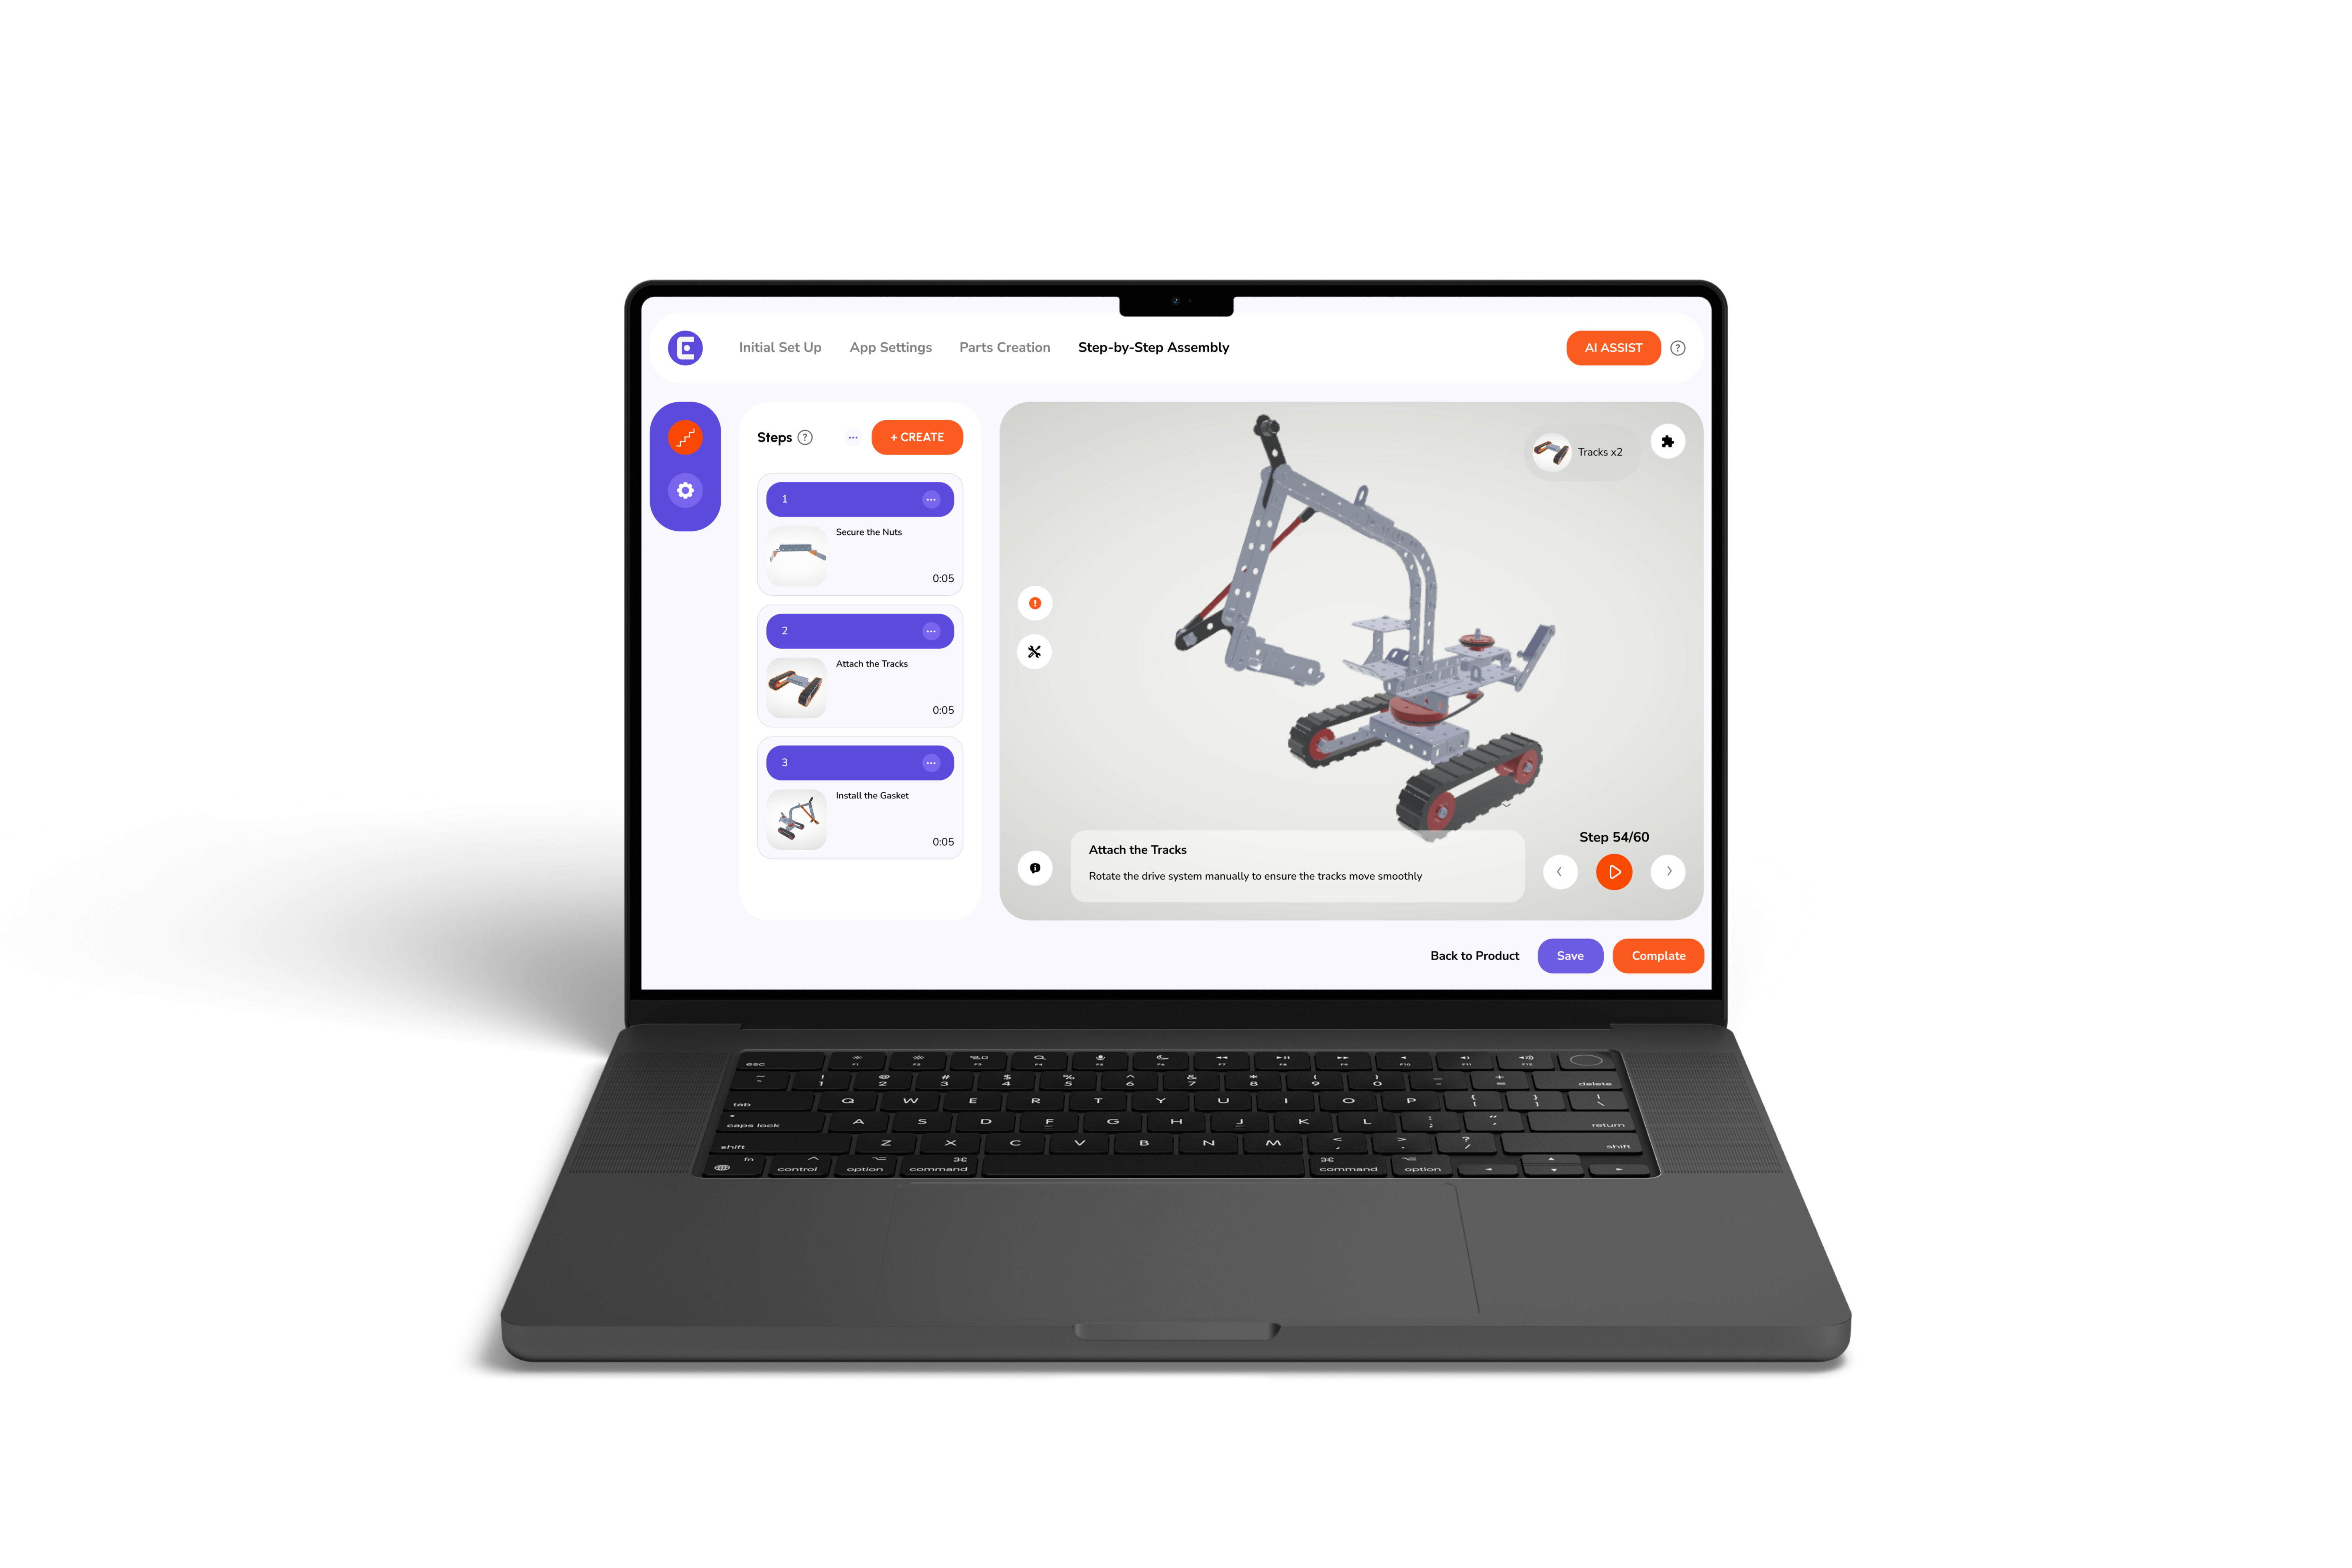
Easemble helps manufacturers create visual, interactive instructions that make complex assembly steps easier to follow.

Our interactive creator, optional 3D modeling, and mobile-friendly playback help brands present component placement and assembly sequences clearly.

Rather than simply describing each step, Easemble lets mountain bike companies pair instructions with interactive 3D visuals that show users how each component fits and functions, from assembling the headset to routing the chain correctly.  

As a digital assembly solutions provider, Easemble helps brands make technical guidance more accessible while keeping manufacturer specifications and safety checks central to the process.

Conclusion

Knowing how to assemble a mountain bike obviously means more than getting every part in place. Correct torque, brake function, component fit, and final checks matter before the first ride. Interactive 3D guidance makes these steps easier to understand by showing how parts fit and move, not just describing them. Explore how Easemble helps brands create clearer, interactive assembly instructions.

FAQs

How do you assemble a mountain bike safely?

Follow the manufacturer's instructions, use specified torque settings, and check the brakes, wheels, and drivetrain before riding.

Which way does the left pedal tighten?

The left pedal tightens counterclockwise when viewed from outside the left crank.

Can 3D instructions replace a bike's assembly manual?

No. They clarify assembly steps but do not replace manufacturer specifications or safety checks.
FAQs

No items found.

Transform Furniture Setup Forever

Switch to Interactive 3D Guides Today.
Experience how Easemble™ can boost satisfaction, cut support costs, and drive positive reviews for your furniture brand.
LEVEL UP TODAY
LEVEL UP TODAY

Electronics Assembly Without the Headaches

Win Customers Back with 3D.
Join leading tech brands using Easemble™ to turn frustrating unboxings into seamless experiences that customers love.
See It in Action
See It in Action

Sports Should Be Fun, Not Frustrarting

Switch to 3D Guides That Motivate
From setup to standout, Easemble™ helps sports brands spark excitement that lasts. Try it today.
Start Winning
Start Winning

Tired of Construction Confusion?

Get Guides That Actually Work
Easemble™ helps brands turn frustration into confidence, one project at a time. Make it yours.
Start Building Now
Start Building Now

Transform the Way Families Build Toys

3D Assembly Makes Every Step Clear.
With Easemble™, toys become more than play, they create shared victories and lasting bonds.
LEVEL UP TODAY
LEVEL UP TODAY

READY TO CREATE INTERACTIVE ASSEMBLY MANUALS?

Turn your 3D models into interactive assembly experiences in minutes.
Try a free trial
Try a free trial